
Gepersonaliseerde blikkies: Gids vir die maak van herhalende patrone
Hoe maak u 'n herhalende patroon vir u Persoonlike blikkieskassie?
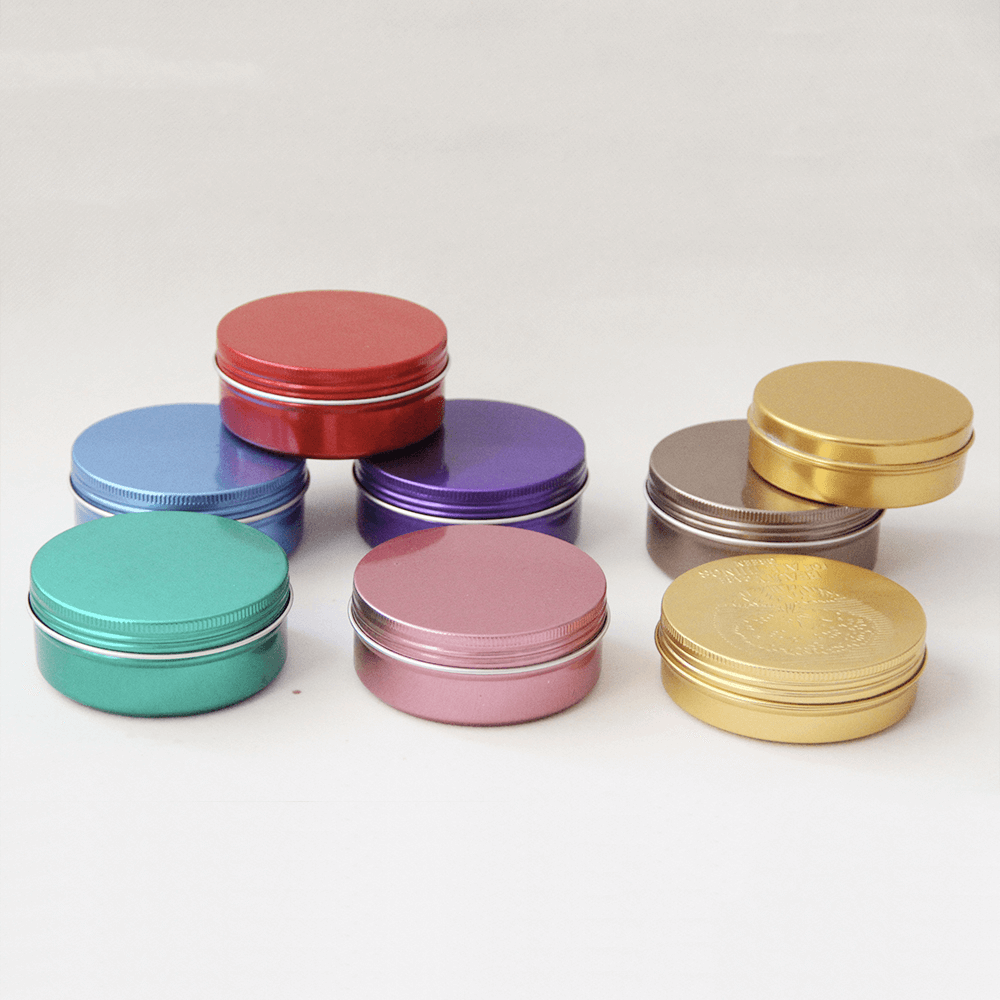
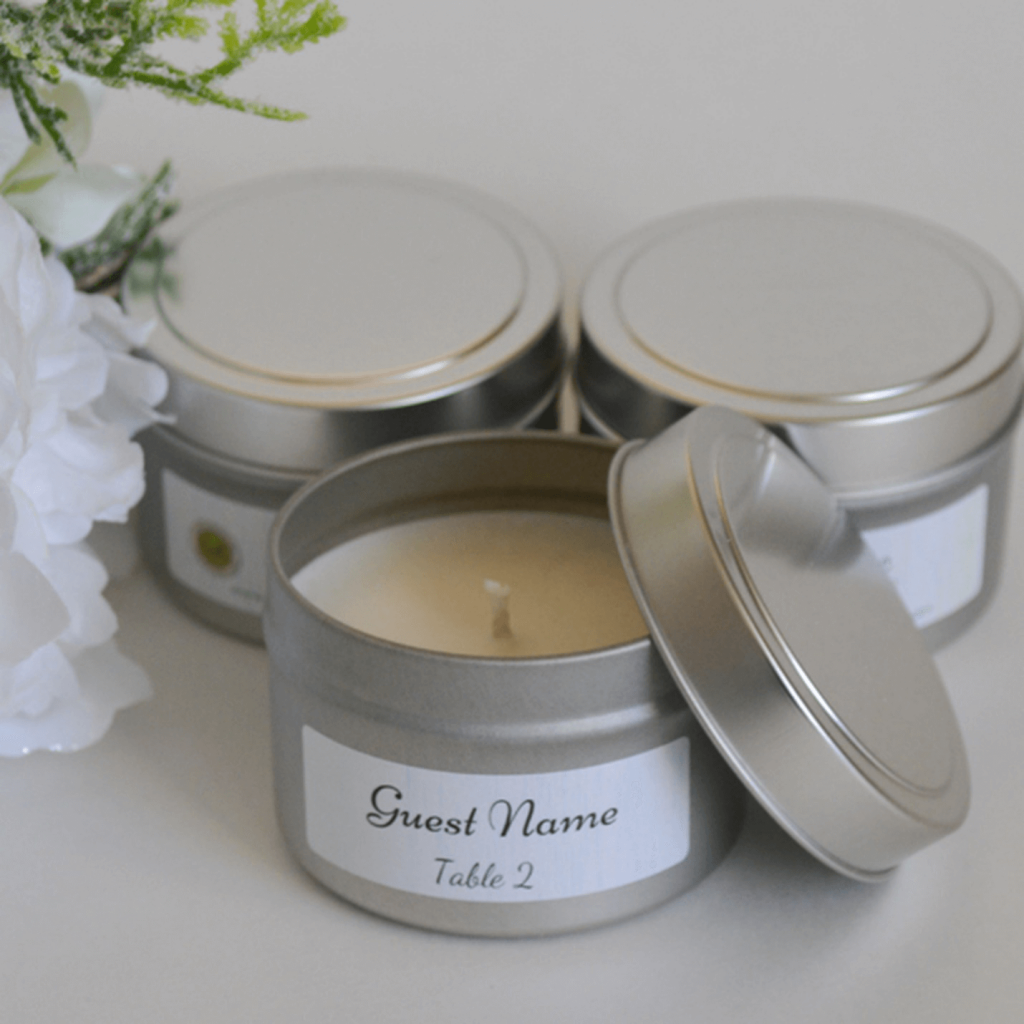
Persoonlike blikkieskas is 'n uitstekende manier om kreatiwiteit te toon. Dit is moontlik om hierdie borde volgens u behoefte te ontwerp. U kan dit byvoorbeeld geniet om die kissie met die logo van u onderneming te merk, of u persoonlike foto's daarop te laat druk om dit aan 'n geliefde te gee.
Daar is verskillende maniere om u blikkies aan te pas. Hoe u die bokse ontwerp, hang af van u kreatiwiteit sowel as u vereiste. U kan eenvoudig nie u troufoto's druk op bokse wat u vir u koekiesake gebruik nie. Kyk na 'n paar goeie maniere om koekies op te slaan.
Dus, kom met 'n wonderlike idee en maak 'n blywende indruk. Dit blyk dat die herhalende patroon die nuwe tendens is waarop die bedryf verlief geraak het. Dit wissel van blikbokse tot materiaal en is geneig om dieselfde patroon herhaaldelik te sien herhaal.
Ons is seker dat u die opkomende tendens wil volg. U moet immers as besigheidseienaar op hoogte bly. Die belangrike vraag hier is egter hoe om 'n herhalende patroon te skep.
So, in this blog post, we are going to provide you a step-by-step guide on creating repeating patterns for your customized tin boxes.
Personalised Tins Box: An Easy to Do Guide
Yes, we know that there are many software out there that would help you create a repeating pattern. However, our personal choice is Adobe Photoshop. It is a great software to edit pictures. It lets you translate your art onto the product seamlessly.
So, if you are holding onto those smaller pieces that you know would make up a great pattern, it is time to unleash them. Use these little doodles in the right way to generate a masterpiece. See the tips below to create repeating patterns using Photoshop.

Photoshop
Photoshop, the leading photo editing software is available for both Windows as well as Mac computers. There is no denying that it the most popular and powerful photo editing software. You can create anything you want with it, and repeating patterns is no exception.
Image Prepping
First thing first, you need to prep your image i.e. if you have the image on paper, you need to transfer it onto your computer. For this purpose, you would require a scanner. Scan the image onto your computer, just make sure that it is at least 3000DPI.
The high DPI would ensure the quality of the image when it is being transferred onto the product. After the scanning is complete, the next step is to cut out the components. For this purpose, you would have to use photoshop.
Load the application on your system, then open your desired image within the software. After loading the image, look for the “Replace Color” tool. Use this tool to ensure that you have a pure white background. For repeating patterns, we would recommend using a plain background.
To find the “Replace Color” tool, click on the image menu>adjustments and there you will find this particular option. Now check the “Show Preview” box, and set the fuzziness to 25. Good so far?
After closing the window with the right settings, take your cursor onto the background and click on it. This would cause the background shape to appear in the Color Box. In addition, a lightness slider would appear. Thus, you can increase and decrease the density of the color.
For the repeating pattern, simply drag the slider till the end. Now notice that both the preview as well as your image would change their display to a bright, plain white image. Click “Okay” to lock in all the changes.
Component Cutting
You already have the components you want in the format that is supported by Photoshop. It is time to load this image onto the software. To load the image, select on File>open and choose the respective image.
After loading the picture, select the Pen Tool. This tool will help you crop the image. A good idea is to cut every component individually. Make sure to carefully trace every component, then simply cut and paste it.
Doing this will result in a new layer designated to that particular component. Once there is a separate layer for the component, go back to the original layer and perform the same steps for other components.
After you cut out all components, you will end up with a file that has multiple layers. Every layer incorporating one component of the pattern. The good thing is that you can do this with more than one-pieces. It all depends upon your wish your final look to be.
Make Repeating pattern
The next step in creating a repeating pattern for your personalised tins box is that you bring all the desired components onto one file. Arrange them as per your pattern requirement. After that, follow the steps below to ensure that you are successful with the pattern repeating.
Canvas Creation
Om 'n nuwe doek te skep, gaan na File Menu, tik op die New opsie. Hierdie doek het een teël en een herhaling van u patroon. As u patroon byvoorbeeld een boom bevat, sou hierdie nuwe doek daardie een boom hê.
Of as dit 'n boom, 'n blom en 'n olifant het, sou die doek een stel van al hierdie komponente hê. Besluit die grootte van die doek. Die wonderlike ding hieraan is dat u enige vorm het wat u wil hê.
As u by die basiese vierkantige vorm hou, sou dit die hele proses om 'n herhaalde patroon te skep, makliker wees.
Opmerking: Die grootte van die titel het 'n direkte invloed op die aantal herhalings. Hoe groter die teël, hoe minder tyd kan u dit herhaal en andersom.
In case you have a 200x300 pixel background, and the title is 50x50 pixel, you will be able to repeat the pattern eight times. In case, the title pixels are 100 x 100, they would appear four times on the canvas having the same dimensions.
Also, it is important to have a transparent background of the canvas. You will know this when you have a checkerboard effect as the background instead of the plain white one. Knowing the center of the canvas is also vital.
To find the center, allow photoshop to help you. Click on the View tab, and there find look for New Guide option. Once you click on this option, a new pop-up window will come forward. The window would have options like “Vertical or Horizontal” with a position.
U moet die posisie individueel op 50 instel vir beide die horisontale sowel as die vertikale opsie. Nadat u hierdie stap voltooi het, verskyn daar 'n dwarshaarlyn direk in die middel van die doek. As u die lyn weens die kleur nie kan sien nie, gaan na Edit Menu en klik op die opsie "Preferences".
Soek na die menu Gidse, Raster en Snitte onder die opsie en klik daarop. U standaardkleur word na Cyaan gelei.
Skep herhalende patroon titels
Die laaste stap om 'n herhalende patroon vir u gepersonaliseerde blikkieskas te skep, is as volg:
Gaan terug na u oorspronklike lêer en kies al die lae. Onthou, u het elke komponent van u herhalende patroon op een laag geplak. Nadat u alle lae gekies het, plak dit in 'n nuwe doek wat u hierbo geskep het.
After pasting, if you think they are too big, or too small, simply resize them as per your requirement. To resize, click on the Transform menu, Scale option, and Edit tab.
After setting the size, you would have to position it onto the center. Next, you need to make a duplicate layer of the first layer. To do so, head to the Layer option and click on the Duplicate Layer option. To create the layer, simply click Okay.
Also, if there is more than one component of your patterns to be at the image slicing point of the tile, you would have to add it to the duplicate layer as well.
Now, head to the duplicated select and select the Filter, then click on Other option, and there find the Offset feature. This is where you would need the center point of your image.
Voeg hierdie middelpunt in die vertikale en horisontale blokkies en merk die opsie 'Voorskou'. Nou sal u sien hoe die finale uitslae daar uitsien. Lees dit deeglik en klik dan op "Goed" om die veranderinge te laat geld.
Vergeet egter nie om die opsie "Wrap Around" onder die "Undefined Area" -afdeling na te gaan voordat u op "Okay" klik nie. As u eerste stuk in die middel is, het die res van die doek 'n gedupliseerde weergawe van u gewenste komponente.
Dit is moontlik om leë areas met ander komponente te vul. Sorg net dat dit nie aan die kante raak nie.
Neem weg
Nadat u die patroon vir u persoonlike blikkieskissie, kontak ons, Tin-Packaging - vir baie drukwerk. Ons bied pasgemaakte blikbokse van hoë gehalte.
