
Teneqe të personalizuara Kuti: Udhëzues për krijimin e modelit të përsëritur
Si të krijoni një model të përsëritur për kutinë tuaj të Tins Personalized?
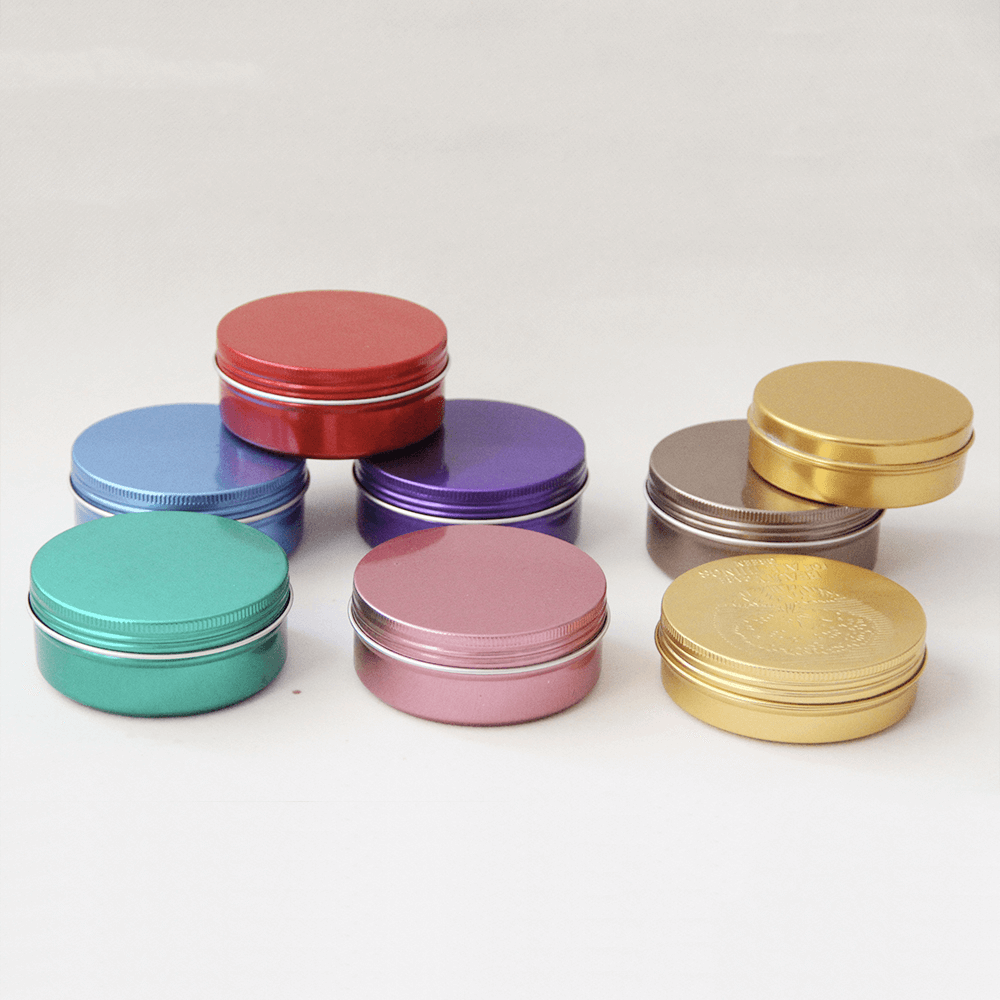
Kutia e Tins të Personalizuar është një mënyrë e shkëlqyeshme për të treguar kreativitetin. Possibleshtë e mundur të hartoni këto borde sipas nevojës tuaj. Për shembull, ju mund të kënaqeni duke e markuar kutinë me logon e kompanisë suaj ose mund të shtypni fotot tuaja personale, për t'ia dhuruar një të dashur.
There are several ways of customizing your tin boxes. How you design the boxes depends upon your creativity as well as your requirement. Now, you simply can’t print your wedding pictures on boxes that you use for your cookies business. See some great ways to store cookies.
So, come up with a great idea and make a lasting impression. It seems that repeating pattern is the new trend the industry has fallen in love with. Ranging from tin boxes to fabrics, you tend to see the same pattern repeated multiple times.
We are sure, you would like to follow the emerging trend. After all, as a business owner, you need to keep yourself updated. However, the important question here is how to create a repeating pattern.
So, in this blog post, we are going to provide you a step-by-step guide on creating repeating patterns for your customized tin boxes.
Personalised Tins Box: An Easy to Do Guide
Yes, we know that there are many software out there that would help you create a repeating pattern. However, our personal choice is Adobe Photoshop. It is a great software to edit pictures. It lets you translate your art onto the product seamlessly.
So, if you are holding onto those smaller pieces that you know would make up a great pattern, it is time to unleash them. Use these little doodles in the right way to generate a masterpiece. See the tips below to create repeating patterns using Photoshop.

Photoshop
Photoshop, softueri kryesor për redaktimin e fotove është i disponueshëm si për Windows ashtu edhe për kompjuterët Mac. Nuk mund të mohohet se është softueri më i popullarizuar dhe më i fuqishëm për redaktimin e fotove. Ju mund të krijoni gjithçka që dëshironi me të, dhe përsëritja e modeleve nuk është përjashtim.
Përgatitja e imazhit
Gjëja e parë, së pari, duhet të përgatisni imazhin tuaj dmth nëse e keni imazhin në letër, duhet ta transferoni atë në kompjuterin tuaj. Për këtë qëllim, ju do të duhet një skanues. Skanoni imazhin në kompjuterin tuaj, thjesht sigurohuni që të jetë së paku 3000DPI.
DPI e lartë do të siguronte cilësinë e imazhit kur ajo transferohet në produkt. Pas përfundimit të skanimit, hapi tjetër është prerja e përbërësve. Për këtë qëllim, duhet të përdorni photoshop.
Load the application on your system, then open your desired image within the software. After loading the image, look for the “Replace Color” tool. Use this tool to ensure that you have a pure white background. For repeating patterns, we would recommend using a plain background.
To find the “Replace Color” tool, click on the image menu>adjustments and there you will find this particular option. Now check the “Show Preview” box, and set the fuzziness to 25. Good so far?
After closing the window with the right settings, take your cursor onto the background and click on it. This would cause the background shape to appear in the Color Box. In addition, a lightness slider would appear. Thus, you can increase and decrease the density of the color.
For the repeating pattern, simply drag the slider till the end. Now notice that both the preview as well as your image would change their display to a bright, plain white image. Click “Okay” to lock in all the changes.
Component Cutting
You already have the components you want in the format that is supported by Photoshop. It is time to load this image onto the software. To load the image, select on File>open and choose the respective image.
After loading the picture, select the Pen Tool. This tool will help you crop the image. A good idea is to cut every component individually. Make sure to carefully trace every component, then simply cut and paste it.
Doing this will result in a new layer designated to that particular component. Once there is a separate layer for the component, go back to the original layer and perform the same steps for other components.
After you cut out all components, you will end up with a file that has multiple layers. Every layer incorporating one component of the pattern. The good thing is that you can do this with more than one-pieces. It all depends upon your wish your final look to be.
Make Repeating pattern
The next step in creating a repeating pattern for your personalised tins box is that you bring all the desired components onto one file. Arrange them as per your pattern requirement. After that, follow the steps below to ensure that you are successful with the pattern repeating.
Canvas Creation
Për të krijuar një kanavacë të re, shkoni te File Menu, prekni në opsionin New. Kjo kanavacë do të kishte një pllakë dhe një përsëritje të modelit tuaj. Për shembull, nëse modeli juaj ka një pemë në të, kjo kanavacë e re do të kishte atë pemë.
Ose në rast se, ajo ka një pemë, një lule dhe një elefant, kanavacë do të ketë një grup të të gjithë këtyre përbërësve. Vendosni madhësinë e kanavacës. Gjëja më e mirë për këtë është se ju mund të keni çfarëdo forme që dëshironi.
Sidoqoftë, mbajtja e formës bazë katrore do ta bënte më të lehtë të gjithë procesin e krijimit të një modeli të përsëritur.
Shënim: Madhësia e titullit ka një ndikim të drejtpërdrejtë në numrin e përsëritjeve. Sa më e madhe të jetë pllaka, aq më pak kohë mund ta përsërisni dhe anasjelltas.
Në rast se keni një sfond 200x300 pixel, dhe titulli është 50x50 pixel, do të jeni në gjendje të përsërisni modelin tetë herë. Në rast se pikselët e titullit janë 100 x 100, ato do të shfaqen katër herë në kanavacë që kanë të njëjtat dimensione.
Gjithashtu, është e rëndësishme të keni një sfond transparent të kanavacës. Ju do ta dini këtë kur të keni një efekt damar si sfond në vend të një të bardhi të thjeshtë. Njohja e qendrës së kanavacës është gjithashtu jetësore.
Për të gjetur qendrën, lejoni që Photoshop t'ju ndihmojë. Klikoni në skedën View dhe aty gjeni opsionin New Guide. Pasi të klikoni në këtë opsion, do të dalë një dritare e re pop-up. Dritarja do të kishte mundësi si "Vertikale ose Horizontale" me një pozicion.
Ju duhet të vendosni individualisht pozicionin në 50 për të dy opsionet horizontale dhe vertikale. Pasi të keni mbaruar këtë hap, një vijë kryqëzimi do të shfaqet drejtpërdrejt në qendër të kanavacës. Në rast se nuk jeni në gjendje ta shihni vijën për shkak të ngjyrës së saj, shkoni te Redaktoni Menu dhe klikoni në opsionin "Preferencat".
Nën opsionin, kërkoni menunë Guides, Grid dhe Slices dhe klikoni mbi të. Ngjyra juaj e paracaktuar do të drejtohet në Cyan.
Krijimi i Titrave të Përsëritura të Modelit
Hapi i fundit për të krijuar një model të përsëritur për kutinë tuaj të tinsit të personalizuar është si më poshtë:
Kthehuni te skedari juaj origjinal dhe zgjidhni të gjitha shtresat. Mos harroni, ju keni ngjitur çdo përbërës të modelit tuaj përsëritës në një shtresë. Pasi të keni zgjedhur të gjitha shtresat, ngjitini ato në një kanavacë të re që keni krijuar më sipër.
Pas ngjitjes, nëse mendoni se janë shumë të mëdha, ose shumë të vogla, thjesht ndryshoni madhësinë e tyre sipas kërkesës tuaj. Për të ndryshuar përmasat, klikoni në menunë Transformo, opsionin Shkallë dhe Ndrysho skedën.
Pas vendosjes së madhësisë, do të duhet ta vendosni atë në qendër. Tjetra, duhet të bëni një shtresë të kopjuar të shtresës së parë. Për ta bërë këtë, drejtohuni te opsioni Layer dhe klikoni në opsionin Duplicate Layer. Për të krijuar shtresën, thjesht klikoni Mirë.
Gjithashtu, nëse ka më shumë se një përbërës të modeleve tuaja për të qenë në pikën e prerjes së imazhit të pllakës, do t'ju duhet ta shtoni edhe në shtresën e kopjuar.
Tani, drejtohuni te zgjedhja e kopjuar dhe zgjidhni Filtrin, pastaj klikoni në opsionin Tjetër, dhe atje gjeni tiparin Offset. Kjo është ajo ku ju do të keni nevojë për pikën qendrore të imazhit tuaj.
Add this center point in the vertical and horizontal boxes and check the preview box option. Now, you will see how the final results will look. See it carefully, and then click “Okay” for the changes to be effective.
However, don’t forget to check the “Wrap Around” option under the “Undefined Area” section before clicking “Okay”. With your first piece in the center, the rest of the canvas would have a duplicated version of your desired components.
It is possible to fill blank areas with other components. Just make sure that they do not touch the edges.
Largohu
Once you have finalized the pattern for your kuti teneqe të personalizuar, reach out to us, Tin-Packaging- for highly printing. We offer customized high-quality tin boxes.
