
Personalised tins Box: Guide on Creating Repeating Pattern
How to make a repeating pattern for your Personalised Tins box?
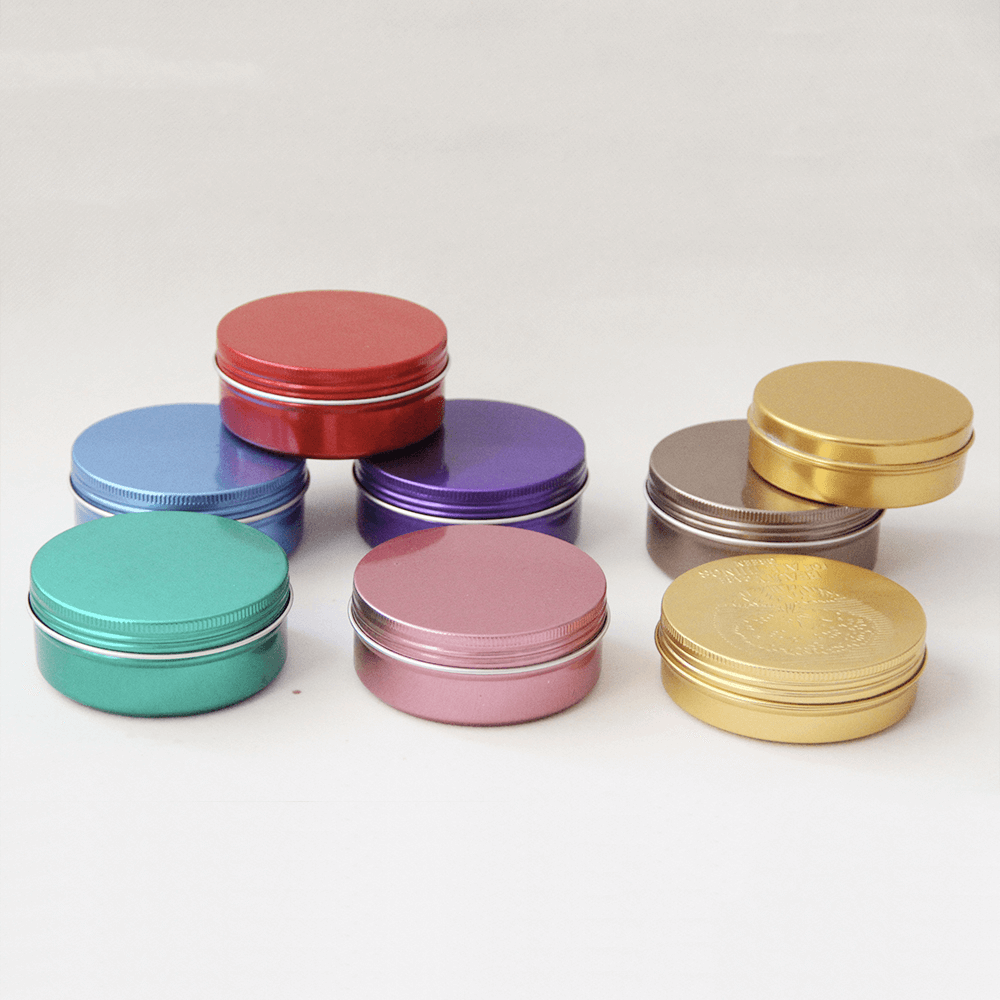
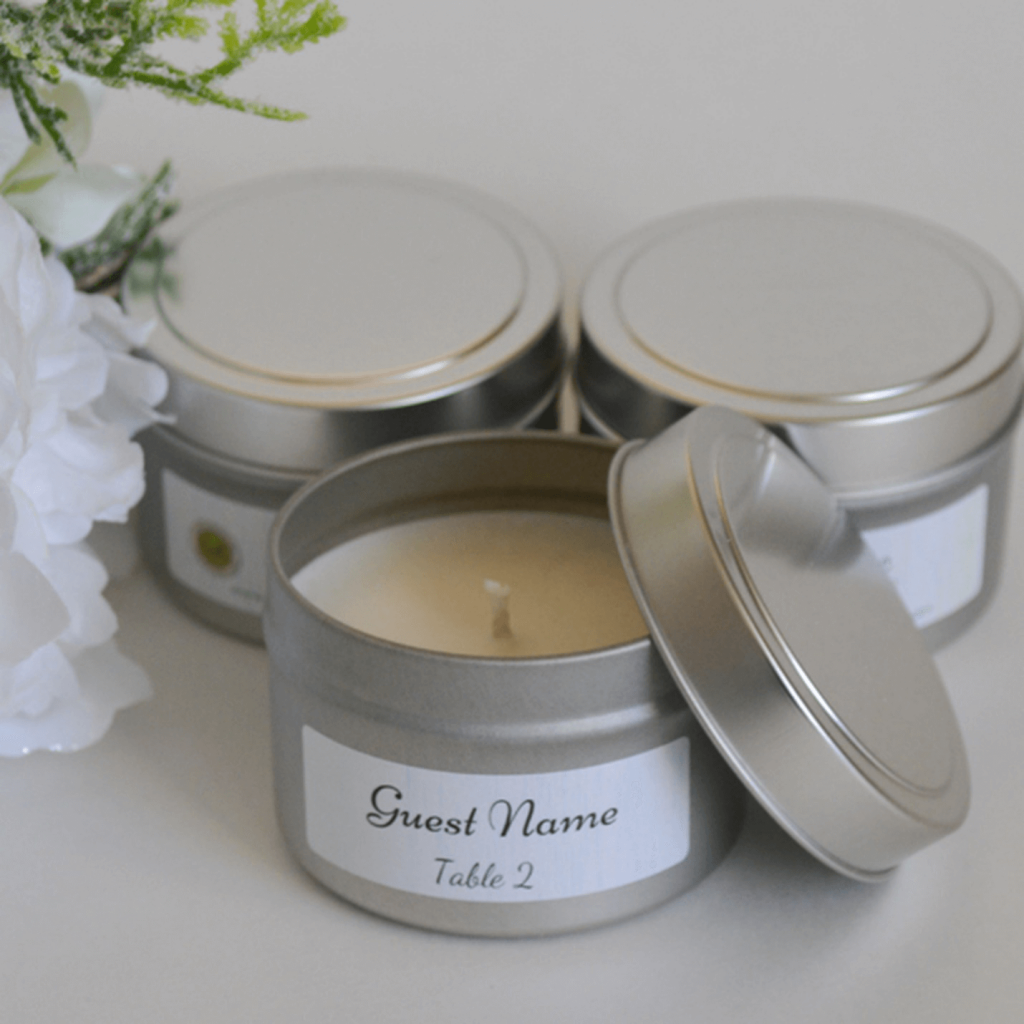
Personalised Tins box is a great way to show off creativity. It is possible to design these boards as per your need. For instance, you can enjoy branding the box with your company’s logo or you can have your personal pictures printed on it, to gift it to a loved one.
There are several ways of customizing your tin boxes. How you design the boxes depends upon your creativity as well as your requirement. Now, you simply can’t print your wedding pictures on boxes that you use for your cookies business. See some great ways to store cookies.
So, come up with a great idea and make a lasting impression. It seems that repeating pattern is the new trend the industry has fallen in love with. Ranging from tin boxes to fabrics, you tend to see the same pattern repeated multiple times.
We are sure, you would like to follow the emerging trend. After all, as a business owner, you need to keep yourself updated. However, the important question here is how to create a repeating pattern.
So, in this blog post, we are going to provide you a step-by-step guide on creating repeating patterns for your customized tin boxes.
Personalised Tins Box: An Easy to Do Guide
Yes, we know that there are many software out there that would help you create a repeating pattern. However, our personal choice is Adobe Photoshop. It is a great software to edit pictures. It lets you translate your art onto the product seamlessly.
So, if you are holding onto those smaller pieces that you know would make up a great pattern, it is time to unleash them. Use these little doodles in the right way to generate a masterpiece. See the tips below to create repeating patterns using Photoshop.

Photoshop
Photoshop, the leading photo editing software is available for both Windows as well as Mac computers. There is no denying that it the most popular and powerful photo editing software. You can create anything you want with it, and repeating patterns is no exception.
Image Prepping
First thing first, you need to prep your image i.e. if you have the image on paper, you need to transfer it onto your computer. For this purpose, you would require a scanner. Scan the image onto your computer, just make sure that it is at least 3000DPI.
The high DPI would ensure the quality of the image when it is being transferred onto the product. After the scanning is complete, the next step is to cut out the components. For this purpose, you would have to use photoshop.
Load the application on your system, then open your desired image within the software. After loading the image, look for the “Replace Color” tool. Use this tool to ensure that you have a pure white background. For repeating patterns, we would recommend using a plain background.
To find the “Replace Color” tool, click on the image menu>adjustments and there you will find this particular option. Now check the “Show Preview” box, and set the fuzziness to 25. Good so far?
After closing the window with the right settings, take your cursor onto the background and click on it. This would cause the background shape to appear in the Color Box. In addition, a lightness slider would appear. Thus, you can increase and decrease the density of the color.
For the repeating pattern, simply drag the slider till the end. Now notice that both the preview as well as your image would change their display to a bright, plain white image. Click “Okay” to lock in all the changes.
Component Cutting
You already have the components you want in the format that is supported by Photoshop. It is time to load this image onto the software. To load the image, select on File>open and choose the respective image.
After loading the picture, select the Pen Tool. This tool will help you crop the image. A good idea is to cut every component individually. Make sure to carefully trace every component, then simply cut and paste it.
Doing this will result in a new layer designated to that particular component. Once there is a separate layer for the component, go back to the original layer and perform the same steps for other components.
After you cut out all components, you will end up with a file that has multiple layers. Every layer incorporating one component of the pattern. The good thing is that you can do this with more than one-pieces. It all depends upon your wish your final look to be.
Make Repeating pattern
The next step in creating a repeating pattern for your personalised tins box is that you bring all the desired components onto one file. Arrange them as per your pattern requirement. After that, follow the steps below to ensure that you are successful with the pattern repeating.
Canvas Creation
To create a new canvas, go to File Menu, tap on the New option. This canvas would have one tile and one repeat of your pattern. For instance, if your pattern has one tree in it, this new canvas would have that one tree on it.
Or in case, it has a tree, a flower and an elephant, the canvas would have one set of all these components. Decide the size of the canvas. The great thing about this is that you can have any shape you want.
However, sticking to the basic square shape would make the entire process of creating a repeated pattern easier.
Note: The Size of the title has a direct impact on the number of repetitions. The bigger the tile, the less time you can repeat it and vice versa.
In case you have a 200x300 pixel background, and the title is 50x50 pixel, you will be able to repeat the pattern eight times. In case, the title pixels are 100 x 100, they would appear four times on the canvas having the same dimensions.
Also, it is important to have a transparent background of the canvas. You will know this when you have a checkerboard effect as the background instead of the plain white one. Knowing the center of the canvas is also vital.
To find the center, allow photoshop to help you. Click on the View tab, and there find look for New Guide option. Once you click on this option, a new pop-up window will come forward. The window would have options like “Vertical or Horizontal” with a position.
You have to individually set the position to 50 for both horizontal as well as vertical option. After you finish this step, a crosshair line would appear directly onto the center of the canvas. In case, you are unable to see the line due to its color, go to Edit Menu and click on the “Preferences” option.
Under the option, look for the Guides, Grid, and Slices menu and click on it. Your default color would be guided to Cyan.
Creating Repeating Pattern Titles
The final step to create a repeating pattern for your personalised tins box is as follows:
Go back to your original file and select all the layers. Remember, you pasted each component of your repeating pattern onto one layer. After selecting all layers, paste them into a new canvas you have created above.
After pasting, if you think they are too big, or too small, simply resize them as per your requirement. To resize, click on the Transform menu, Scale option, and Edit tab.
After setting the size, you would have to position it onto the center. Next, you need to make a duplicate layer of the first layer. To do so, head to the Layer option and click on the Duplicate Layer option. To create the layer, simply click Okay.
Also, if there is more than one component of your patterns to be at the image slicing point of the tile, you would have to add it to the duplicate layer as well.
Now, head to the duplicated select and select the Filter, then click on Other option, and there find the Offset feature. This is where you would need the center point of your image.
Add this center point in the vertical and horizontal boxes and check the preview box option. Now, you will see how the final results will look. See it carefully, and then click “Okay” for the changes to be effective.
However, don’t forget to check the “Wrap Around” option under the “Undefined Area” section before clicking “Okay”. With your first piece in the center, the rest of the canvas would have a duplicated version of your desired components.
It is possible to fill blank areas with other components. Just make sure that they do not touch the edges.
Take Away
Once you have finalized the pattern for your personalised tins box, reach out to us, Tin-Packaging- for highly printing. We offer customized high-quality tin boxes.
