
علب علب مخصصة: دليل إنشاء نمط التكرار
كيف تصنع نمطًا متكررًا لصندوق علبك المخصصة؟
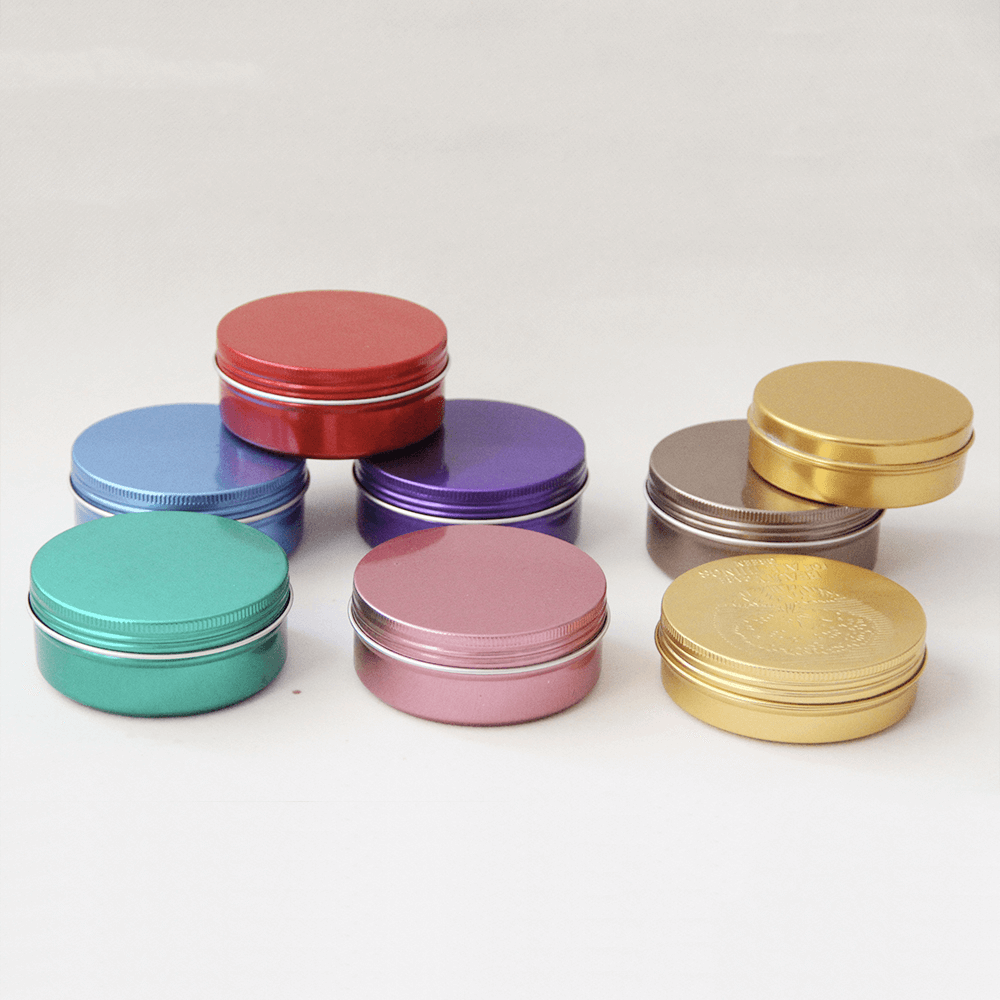
صندوق علب مخصص هو وسيلة رائعة لاظهار الإبداع. من الممكن تصميم هذه الألواح حسب حاجتك. على سبيل المثال ، يمكنك الاستمتاع بعلامة تجارية على العلبة تحمل شعار شركتك أو يمكنك طباعة صورك الشخصية عليها لتقديمها إلى أحد أفراد أسرتك.
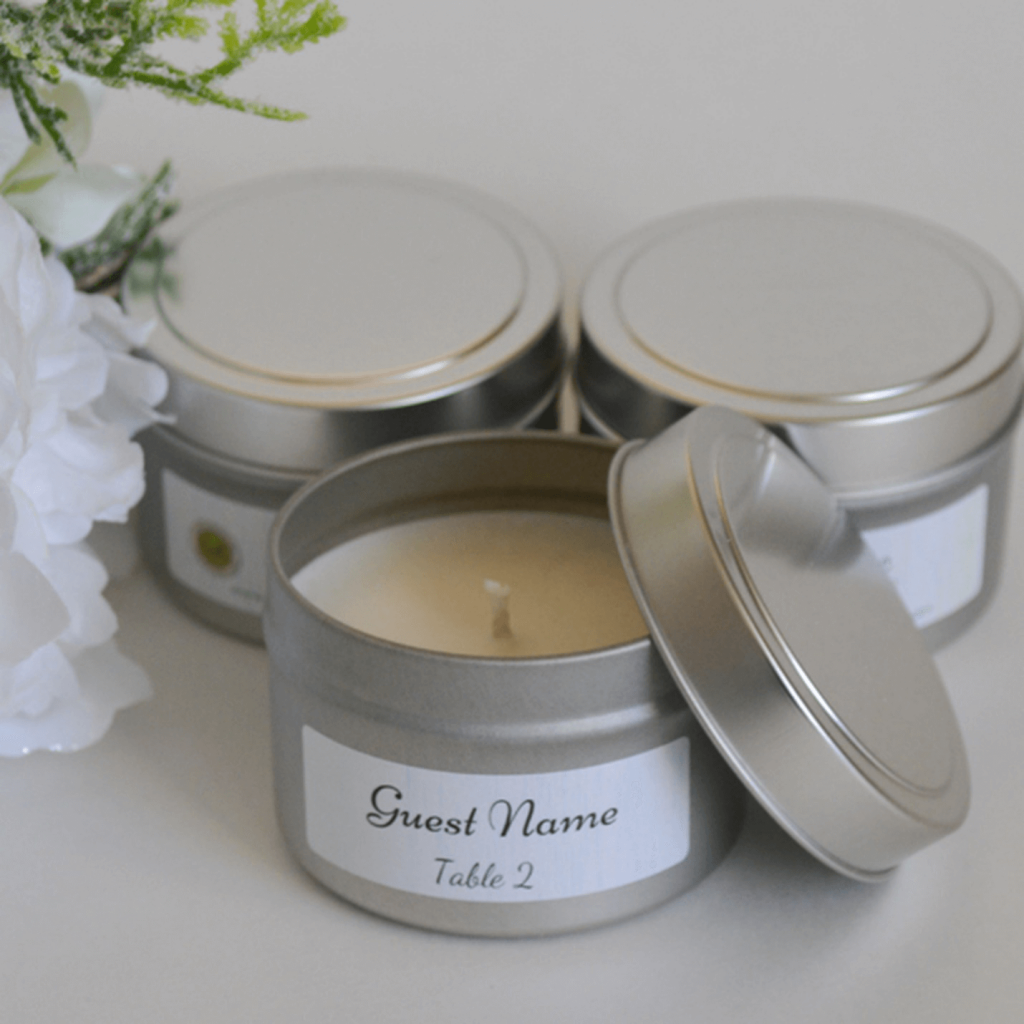
هناك عدة طرق لتخصيص علب الصفيح الخاصة بك. تعتمد طريقة تصميم الصناديق على إبداعك بالإضافة إلى متطلباتك. الآن ، لا يمكنك ببساطة طباعة صور حفل الزفاف الخاص بك على الصناديق التي تستخدمها في أعمال ملفات تعريف الارتباط الخاصة بك. شاهد بعض الطرق الرائعة لتخزين ملفات تعريف الارتباط.
لذلك ، ابتكر فكرة رائعة واترك انطباعًا دائمًا. يبدو أن تكرار النمط هو الاتجاه الجديد الذي أحبته الصناعة. بدءًا من علب الصفيح إلى الأقمشة ، تميل إلى رؤية نفس النمط يتكرر عدة مرات.
نحن على يقين من أنك ترغب في متابعة الاتجاه الناشئ. بعد كل شيء ، بصفتك صاحب عمل ، تحتاج إلى تحديث نفسك. ومع ذلك ، فإن السؤال المهم هنا هو كيفية إنشاء نمط متكرر.
لذلك ، في منشور المدونة هذا ، سنقدم لك دليلًا تفصيليًا حول إنشاء أنماط متكررة لصناديق القصدير المخصصة الخاصة بك.
علبة علب مخصصة: دليل سهل التنفيذ
نعم ، نعلم أن هناك العديد من البرامج التي من شأنها مساعدتك في إنشاء نمط متكرر. ومع ذلك ، فإن اختيارنا الشخصي هو Adobe Photoshop. إنه برنامج رائع لتحرير الصور. يتيح لك ترجمة فنك إلى المنتج بسلاسة.
لذلك ، إذا كنت تتمسك بتلك القطع الصغيرة التي تعرف أنها ستشكل نمطًا رائعًا ، فقد حان الوقت لإطلاقها. استخدم هذه الرسومات الصغيرة بالطريقة الصحيحة لإنشاء تحفة فنية. راجع النصائح أدناه لإنشاء أنماط متكررة باستخدام Photoshop.

محل تصوير
Photoshop, the leading photo editing software is available for both Windows as well as Mac computers. There is no denying that it the most popular and powerful photo editing software. You can create anything you want with it, and repeating patterns is no exception.
Image Prepping
First thing first, you need to prep your image i.e. if you have the image on paper, you need to transfer it onto your computer. For this purpose, you would require a scanner. Scan the image onto your computer, just make sure that it is at least 3000DPI.
The high DPI would ensure the quality of the image when it is being transferred onto the product. After the scanning is complete, the next step is to cut out the components. For this purpose, you would have to use photoshop.
Load the application on your system, then open your desired image within the software. After loading the image, look for the “Replace Color” tool. Use this tool to ensure that you have a pure white background. For repeating patterns, we would recommend using a plain background.
To find the “Replace Color” tool, click on the image menu>adjustments and there you will find this particular option. Now check the “Show Preview” box, and set the fuzziness to 25. Good so far?
After closing the window with the right settings, take your cursor onto the background and click on it. This would cause the background shape to appear in the Color Box. In addition, a lightness slider would appear. Thus, you can increase and decrease the density of the color.
بالنسبة للنمط المتكرر ، ما عليك سوى سحب شريط التمرير حتى النهاية. لاحظ الآن أن كلاً من المعاينة وكذلك صورتك سيغيران عرضهما إلى صورة بيضاء مشرقة وعادية. انقر فوق "موافق" لقفل جميع التغييرات.
قطع المكونات
لديك بالفعل المكونات التي تريدها بالتنسيق الذي يدعمه Photoshop. حان الوقت لتحميل هذه الصورة على البرنامج. لتحميل الصورة ، حدد ملف> فتح واختر الصورة المعنية.
بعد تحميل الصورة ، حدد أداة القلم. ستساعدك هذه الأداة في اقتصاص الصورة. فكرة جيدة هي قطع كل مكون على حدة. تأكد من تتبع كل مكون بعناية ، ثم قم بقصه ولصقه.
سيؤدي القيام بذلك إلى طبقة جديدة مخصصة لهذا المكون المحدد. بمجرد وجود طبقة منفصلة للمكون ، ارجع إلى الطبقة الأصلية وقم بتنفيذ نفس الخطوات للمكونات الأخرى.
بعد قطع جميع المكونات ، سينتهي بك الأمر بملف يحتوي على طبقات متعددة. تتضمن كل طبقة مكونًا واحدًا من النمط. الشيء الجيد هو أنه يمكنك القيام بذلك بأكثر من قطعة واحدة. كل هذا يتوقف على رغبتك في أن تكون مظهرك النهائي.
اجعل نمط التكرار
الخطوة التالية في إنشاء نمط متكرر لعلبك المخصصة هي أن تقوم بإحضار جميع المكونات المطلوبة في ملف واحد. رتبهم حسب متطلبات النمط الخاص بك. بعد ذلك ، اتبع الخطوات أدناه للتأكد من نجاحك في تكرار النمط.
خلق قماش
To create a new canvas, go to File Menu, tap on the New option. This canvas would have one tile and one repeat of your pattern. For instance, if your pattern has one tree in it, this new canvas would have that one tree on it.
Or in case, it has a tree, a flower and an elephant, the canvas would have one set of all these components. Decide the size of the canvas. The great thing about this is that you can have any shape you want.
However, sticking to the basic square shape would make the entire process of creating a repeated pattern easier.
Note: The Size of the title has a direct impact on the number of repetitions. The bigger the tile, the less time you can repeat it and vice versa.
In case you have a 200x300 pixel background, and the title is 50x50 pixel, you will be able to repeat the pattern eight times. In case, the title pixels are 100 x 100, they would appear four times on the canvas having the same dimensions.
Also, it is important to have a transparent background of the canvas. You will know this when you have a checkerboard effect as the background instead of the plain white one. Knowing the center of the canvas is also vital.
To find the center, allow photoshop to help you. Click on the View tab, and there find look for New Guide option. Once you click on this option, a new pop-up window will come forward. The window would have options like “Vertical or Horizontal” with a position.
يجب عليك ضبط الموضع بشكل فردي على 50 لكل من الخيار الأفقي والعمودي. بعد الانتهاء من هذه الخطوة ، سيظهر خط التقاطع مباشرة في منتصف اللوحة القماشية. في حالة عدم قدرتك على رؤية الخط بسبب لونه ، انتقل إلى قائمة التحرير وانقر على خيار "التفضيلات".
ضمن الخيار ، ابحث عن قائمة Guides و Grid و Slices وانقر عليها. سيتم إرشاد اللون الافتراضي إلى اللون السماوي.
إنشاء عناوين الأنماط المتكررة
الخطوة الأخيرة لإنشاء نمط متكرر لصندوق العلب المخصص لك هي كما يلي:
ارجع إلى ملفك الأصلي وحدد كل الطبقات. تذكر أنك قمت بلصق كل مكون من مكونات النمط المتكرر على طبقة واحدة. بعد تحديد كل الطبقات ، قم بلصقها في لوحة قماشية جديدة قمت بإنشائها أعلاه.
After pasting, if you think they are too big, or too small, simply resize them as per your requirement. To resize, click on the Transform menu, Scale option, and Edit tab.
After setting the size, you would have to position it onto the center. Next, you need to make a duplicate layer of the first layer. To do so, head to the Layer option and click on the Duplicate Layer option. To create the layer, simply click Okay.
Also, if there is more than one component of your patterns to be at the image slicing point of the tile, you would have to add it to the duplicate layer as well.
Now, head to the duplicated select and select the Filter, then click on Other option, and there find the Offset feature. This is where you would need the center point of your image.
أضف نقطة الوسط هذه في المربعات الرأسية والأفقية وحدد خيار مربع المعاينة. الآن ، سترى كيف ستبدو النتائج النهائية. انظر بعناية ، ثم انقر على "حسنًا" حتى تصبح التغييرات فعالة.
ومع ذلك ، لا تنسَ تحديد خيار "التفاف حول" ضمن قسم "منطقة غير محددة" قبل النقر على "موافق". مع وجود قطعتك الأولى في المنتصف ، سيكون لبقية اللوحة نسخة مكررة من المكونات التي تريدها.
من الممكن ملء المساحات الفارغة بمكونات أخرى. فقط تأكد من أنها لا تلمس الحواف.
يبعد
بمجرد الانتهاء من النمط الخاص مربع علب شخصيةمعنا ، تغليف القصدير- للطباعة العالية. نحن نقدم علب الصفيح عالية الجودة المخصصة.
